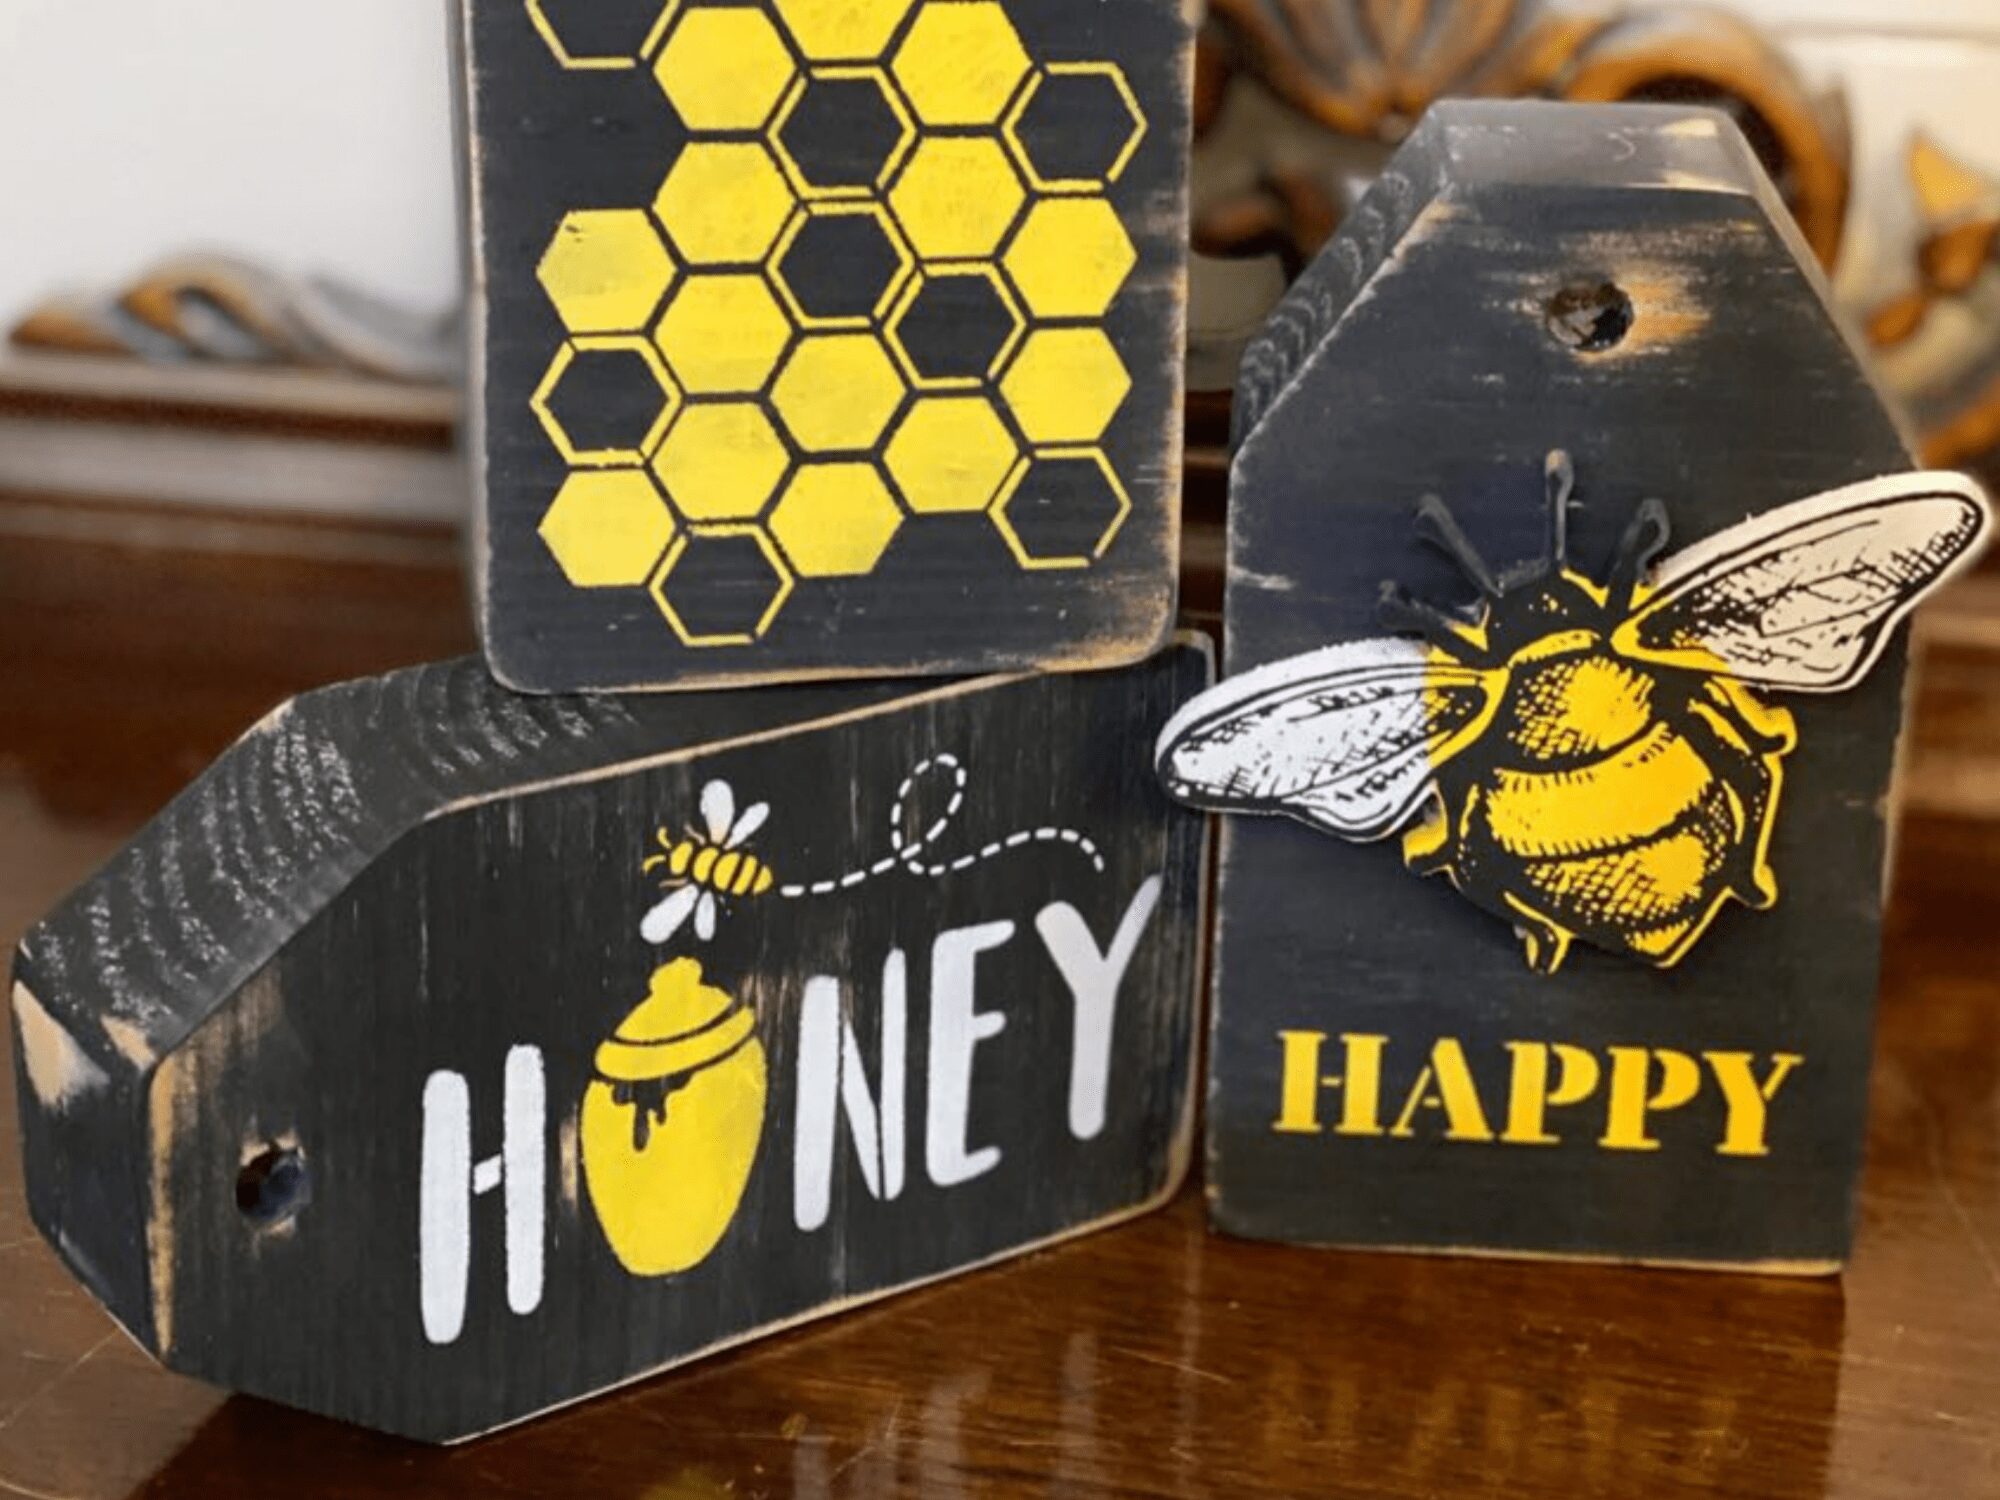
Hey everyone, it’s Tammy from Rustic Orchard Home! If you’re looking to add a fun and bright touch to your farmhouse decor, I have the perfect Bumble Bee DIY Decor idea for you!

Materials List:
- Medium Wood Tags 1.5 inch thick
- Caviar Dixie Belle Chalk Mineral Paint
- Fluff Dixie Belle Chalk Mineral Paint
- Daisy Dixie Belle Chalk Mineral Paint
- Bee Mini Tag Stencil Set from Essential Stencil
- Palm Sander
- Painter’s Tape
- Twine
- Makeup Sponges
- Dixie Belle Round Large Paint Brush
- Gorilla Super Glue (Only needed if you’re adding a wooden bee instead of the stenciled one.)
How To:
Step 1:
Firstly, add a base coat of Dixie Belle Chalk Mineral Paint in the color Caviar to the front and sides of your tags. Feel free to paint the back also, if you’d like.
Step 2:
Next, once your paint is dry, use a palm sander or sanding block to add a distressed finish.

Step 3:
Next, it’s time to add your stencils! When stenciling, first tape your stencil in place using painters tape. This will keep it from moving when adding the paint. Then, load your desired paint color onto the makeup sponge. I used the color Daisy by Dixie Belle Paint for this portion of the project. Once you have paint loaded onto the sponge, offload the majority of it onto a piece of foil or other surface.
Step 4:
Now, lightly pounce the paint onto the stencil. Chalk Mineral Paint is great for stenciling because it dries so quickly. This will allow you to go over your stencil multiple times without bringing wet paint back up off of your project. Continue to add layers of paint until you achieve your desired coverage.
Learn more about how to create these bumble bee decor tags over at Rustic Orchard Home!


