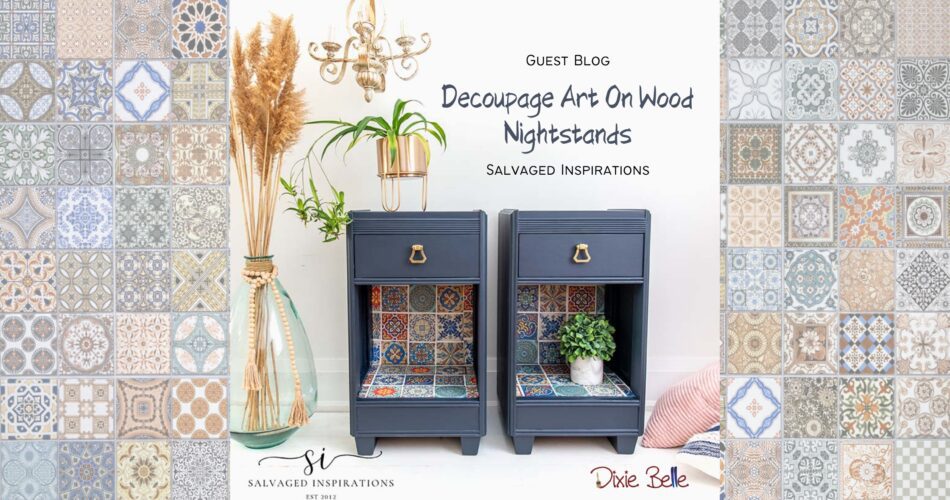
When it comes to breathing new life into tired furniture, sometimes all you need is a little creativity and the right tools. In today’s guest blog, Denise from Salvaged Inspirations shares how she transformed a pair of worn-out nightstands into stunning statement pieces. Using Silk All-In-One Mineral Paint and a touch of decoupage artistry, Denise demonstrates just how easy it can be to achieve a fresh, modern look with minimal effort. Whether you’re a seasoned DIYer or just starting your upcycling journey, her step-by-step process is sure to inspire your next project!
(The following is an excerpt from Salvaged Inspirations. Read the full article here.)

Today I’m sharing how I used decoupage art on these two wood nightstands. Decoupage art can be sourced from napkins, wallpaper, rice paper, tissue paper, or even newspapers and magazines! It’s inexpensive and can make a dramatic difference on a plain piece of wood furniture as you’ll see in today’s makeover.
Here’s the salvaged nightstand set I started with. The front door hinge was broken and there was contact paper covering the inside.


There were also some scratches on the top but overall these nightstands were still in awesome condition.

WHAT YOU’LL NEED
- Wood Nightstand Set – SALVAGED
- White Lightning Cleaner
- Bosch Sander
- BIN Shellac Based Primer
- Bondo All-Purpose Putty
- Deep Sea Silk All-In-One Mineral Paint
- White Cap Silk All-In-One Mineral Paint
- Mosiac Tile Decoupage Paper (similar)
- 2″ Round Paint Brush
- Clear Coat Satin
NIGHTSTAND MAKEOVER
Here’s how it all came together with the paint and decoupage tissue paper…
CLEAN & PREP
I started by removing the contact paper using a heat gun. It doesn’t matter how many years the paper has been stuck on. Heat will remove it easily!


I gave these night tables a good cleaning with White Lightning. making sure to rinse my sponge and wipe with clean water to remove any residue before sanding and priming.

I decided to use this Deep Sea Silk All-In-One Mineral Paint so priming wasn’t a step that was needed. I painted two coats of this gorgeous Deep Sea Blue.


Then painted the inside in White Cap All-In-One Mineral Paint. No primer is required because the primer and topcoat are already included in this paint.

DECOUPAGE ART
Now for the fun part! I found this Colorful Tiles Decoupage Rice Paper in my inventory. This exact paper is no longer in stock or available from Dixie Belle but they have plenty of other gorgeous designs to pick from!

Because I can’t order more of this (and I didn’t think I had enough to cover the full inside of both nightstands) I cut the square tiles into pieces.
Pro Tip – Decoupage papers can be cut, torn, layered, wrinkled, smoothed, painted, waxed, etc… pretty much anything to get the look you’re after!

To apply this decoupage art, I brushed a Satin Clear Coat onto the surface. Then I laid the decoupage tissue over the wet topcoat positioning the tiles exactly where I wanted them. I pressed the paper down onto the drawer making sure there were no creases and wrinkles, and then brushed the topcoat right over the decoupage tiles to seal them in place. The Satin Clear Coat acts as the adhesive and the topcoat.

To fit smaller ’tiles’ around the edges, I cut one-inch pieces and adhered them the same way as above.

I was going to tile all four sides, but decided that would be a little much so I opted to paint the remaining two sides blue to match the outside. I added two new brass knobs and this set was finished!
FINISHED DECOUPAGED SET
Here’s the finished look. What do you think?


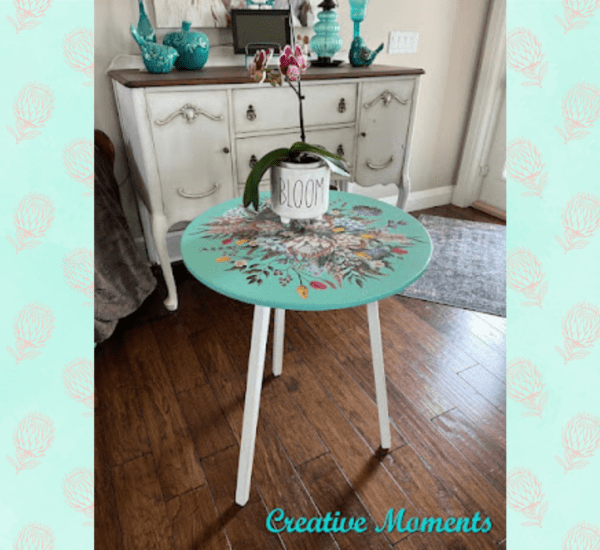
We hope you enjoyed following along with Denise’s beautiful nightstand makeover! With Silk All-In-One Mineral Paint’s durability and decoupage paper’s decorative touch, these once-worn pieces now shine with personality and charm. Ready to start your own transformation? Be sure to check out our full line of Dixie Belle products to bring your furniture makeover dreams to life. Don’t forget to tag us in your projects—we can’t wait to see what you create! For another fun project using Silk All-In-One Mineral Paint and decoupage paper, check out our blog, Yellowstone Silk Painted Side Tables.


