Hey there, its At Home with Ashley!
I’ve been working hard on my son’s dinosaur’s bedroom. He’s obsessed with Dinos and so I am doing my best to feed that love.
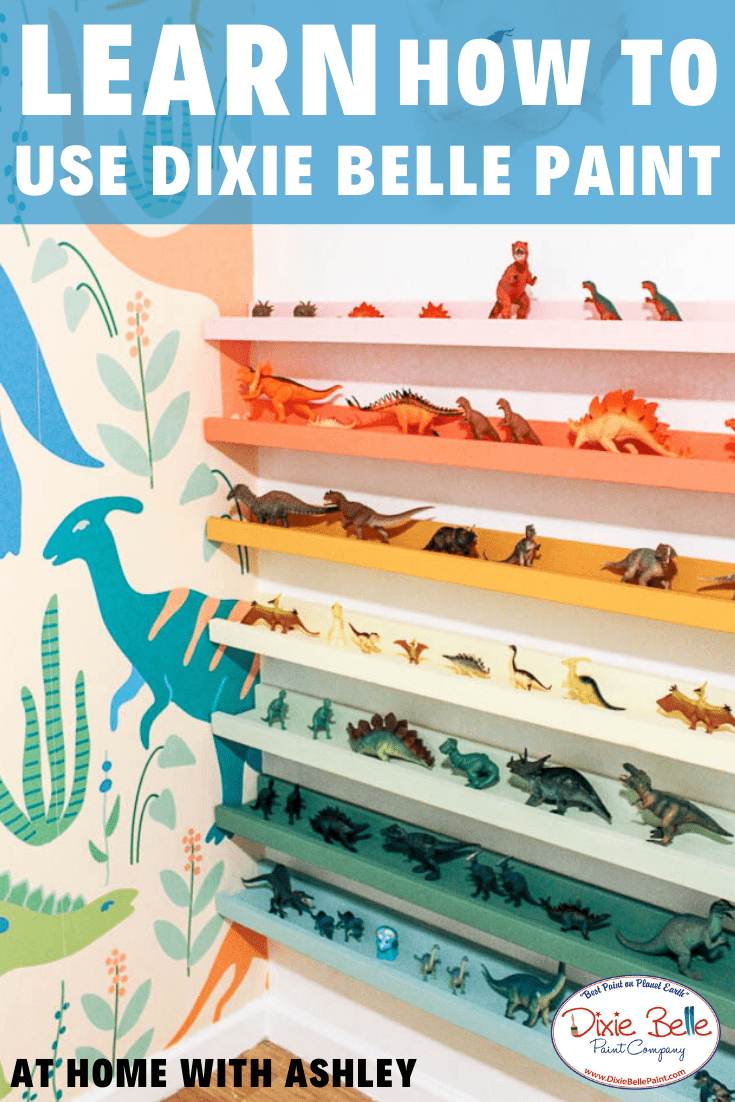
For today, I wanted to share how to make a DIY dinosaur shelf.
Materials List:
- 1×4-8ft common board (I got 4 of these)
- 1×3-8ft common board (I got 4 of these)
- 1×2-8ft common board (I got 4 of these)
- Chalk Mineral Paint: Soft Pink, Flamingo, Colonel Mustard, Lemonade, Kudzu, Farmhouse Green, and Sea Glass
How To:
Start by cutting the wood. We made 8 shelves 48″ wide each. You could make them shorter if you have a smaller wall. Next, screw the pieces together.
I wanted it wider so that the dinosaurs would have plenty of space. After the screws are in, cover the screws on the front with wood putty and sand once dry. For more instructions on this project, click here!
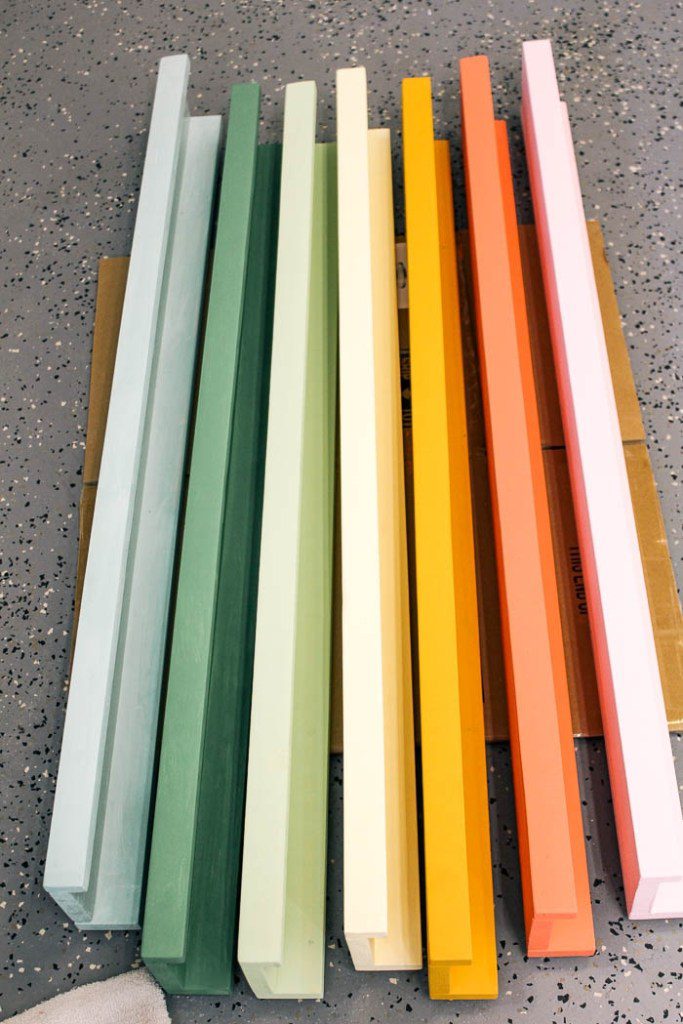
And now, it’s time to paint! I used chalk paint because I had some on hand. Since I like to do super thin coats, it took 3 coats of paint for each shelf. Here’s the colors I ended up using. Aren’t they cute?! I tried to use colors from the wallpaper while making them rainbow colors.
Finally, finish the project by hanging the shelves. The height depends on what you put on the shelves. Our bottom shelf is 12″ off the ground and then each shelf is 6″ from each other.
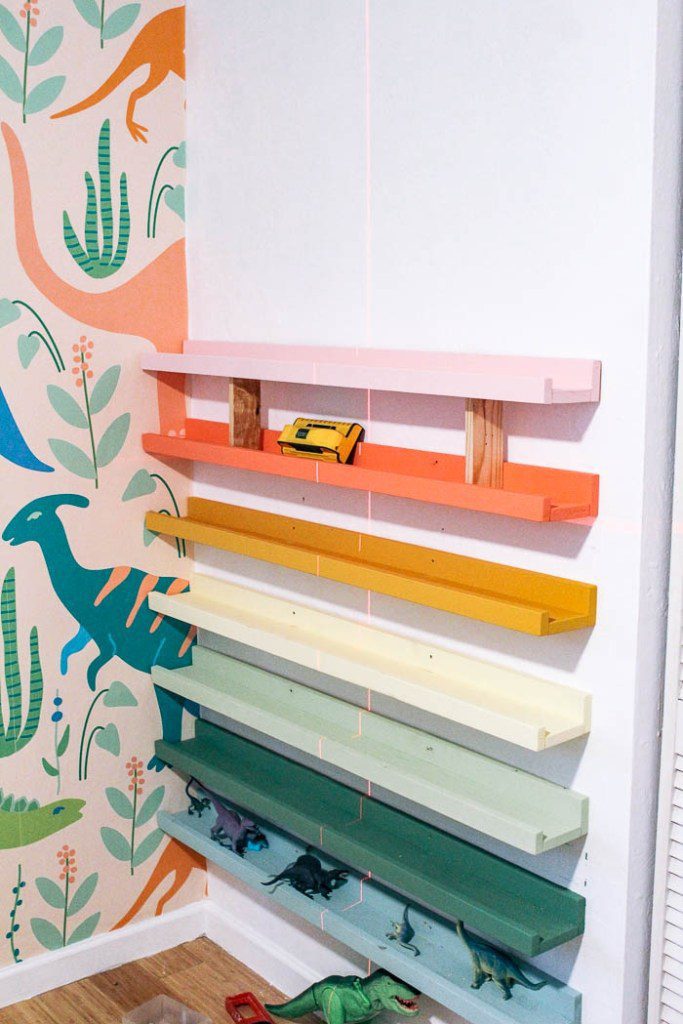
Ta da! Here’s all the shelves installed with my son’s toy dinosaurs on them! Don and I tried to colorize the Dinos and put them on the coordinating shelves. I know they’re just small shelves, but dang, I love them! It’s so nice to have some rainbow in this house.

I also painted his dresser with the color Sea Glass. Learn more about this makeover here!