Do you sit there and look at a piece of furniture in your home thinking, “I don’t want to get rid of this piece, but it just doesn’t look good in my room anymore?”
Don’t fret – paint it! It is so easy to make a piece pop with color! You can also paint stripes or add a furniture transfer.
Let’s get started!
Step One:
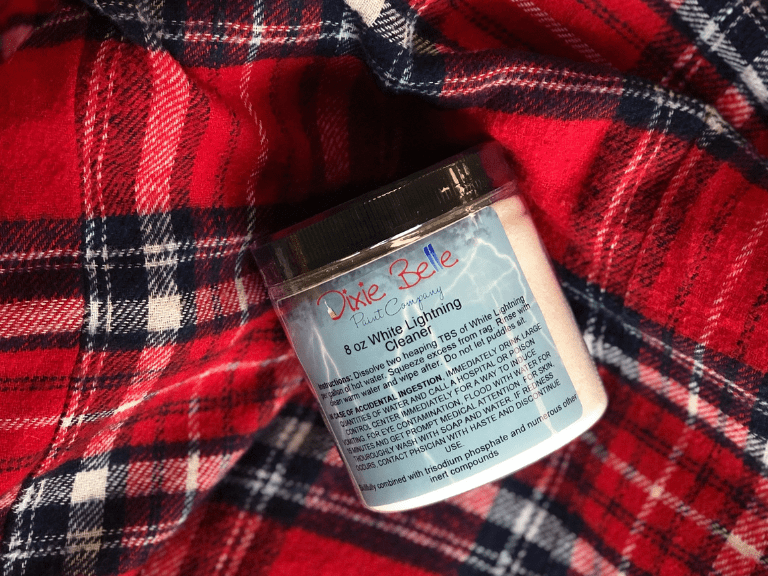
The first step to any paint product is to clean your piece with White Lightning to remove any dirt, grime, or grease.
You may think your piece is clean, but cleaning products can leave a build up or residue on your furniture which will create a barrier for any paint to be able to adhere properly.
After cleaning, I make sure to rinse it well with clean water and a rag to make sure no residue is left behind. Do not forget to do this step…. it will help you avoid any paint easily scratching up over time.
Step Two:
After its clean, go ahead and start painting.
If you have a piece that is a high gloss laminate, Formica, plastic, or glass, you can use Slick Stick to make sure your paint will “stick” to the slippery surface and last a long long time. Slick Stick has a bonding agent in it that makes pretty much any surface paintable.
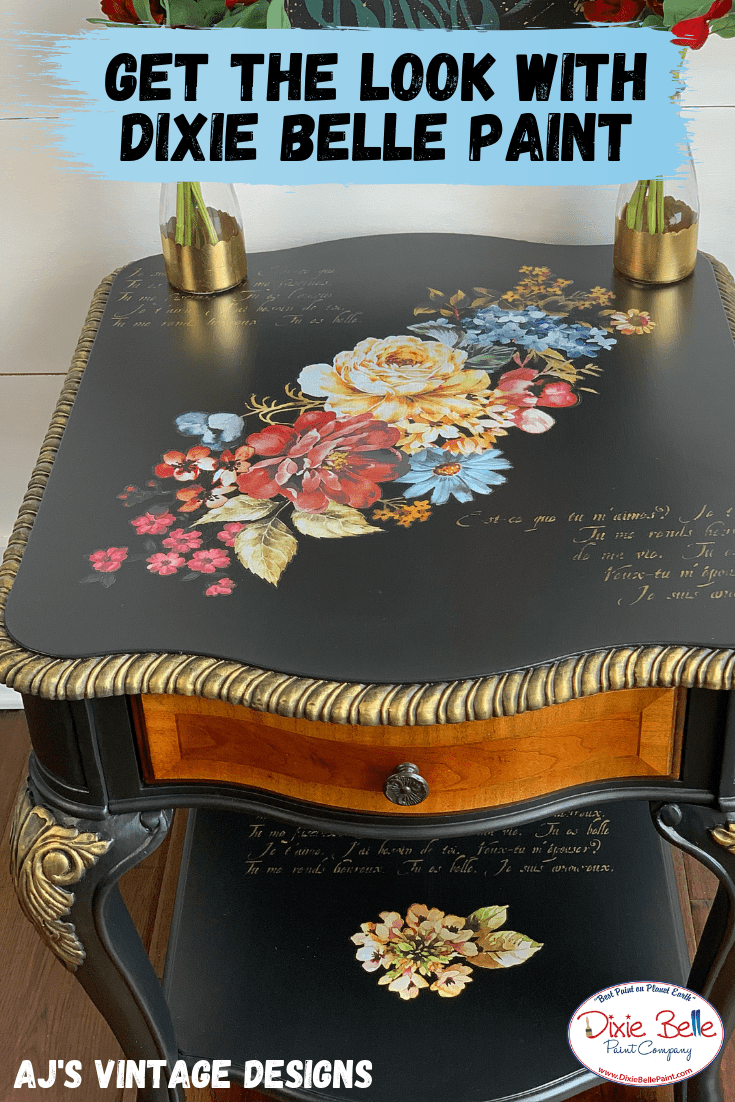
Furniture transfer fun!
I painted this side table with the gorgeous matte black, Caviar.
I’ve been on a transfer kick lately and loving the impact it has added to each of my pieces. Watch my Facebook LIVE video of this piece!
![]()
Want to add stripes? Here’s how!
Step One:
Paint your base color on your piece. You will want to have your base color completely applied (the number of coats needed for full coverage). You want to make sure you have enough coats on, so you don’t have to go back and touch up any areas after you’ve done your stripes.
Step Two:
Decide what sized stripes you want on your piece and how much space between stripes you want. I prefer to use Scotch Blue .94″ for delicate surfaces.
Step Three:
Place your 3 strips of tape on your surface (one right next to the other). This is an easy way to keep your stripes straight.
Then pull up the second piece of tape (the one in the middle) and move it to the other side of your 3rd strip of tape (this piece of tape we just moved will be what we use as a “spacer strip” to keep moving to make sure our stripes are evenly distributed down our surface.
Place another piece of tape right next to the “spacer strip” that we just moved….. then pull up the “spacer strip” and moved to the other side of the strip of tape we just put down. See what I’m doing here?
Step Four:
Now that we have our taped stripes down, we need to seal the edges of the tape so we don’t have that “paint bleeding under the tape” look. You can use your base coat color and apply that color paint in one thin coat down the edges of the tape.
Step Five:
Now its time to paint your stripes! Make sure to remove your tape when your paint is still wet. If you let the paint dry it may pull up the base color you just painted on the tape edges.
For more tips on painting stripes, watch this video!